
Are you trying to write a blog post on your WordPress website but unsure how? Check out this step by step tutorial on how to create a simple blog post.
1. Start by logging into your website backend. To do this you would go to your browser of choice and type in your website address, then add “/wp-admin” to the end of the url. This will take you to a page where you can sign in.
For example: www.mywebsite.com/wp-admin

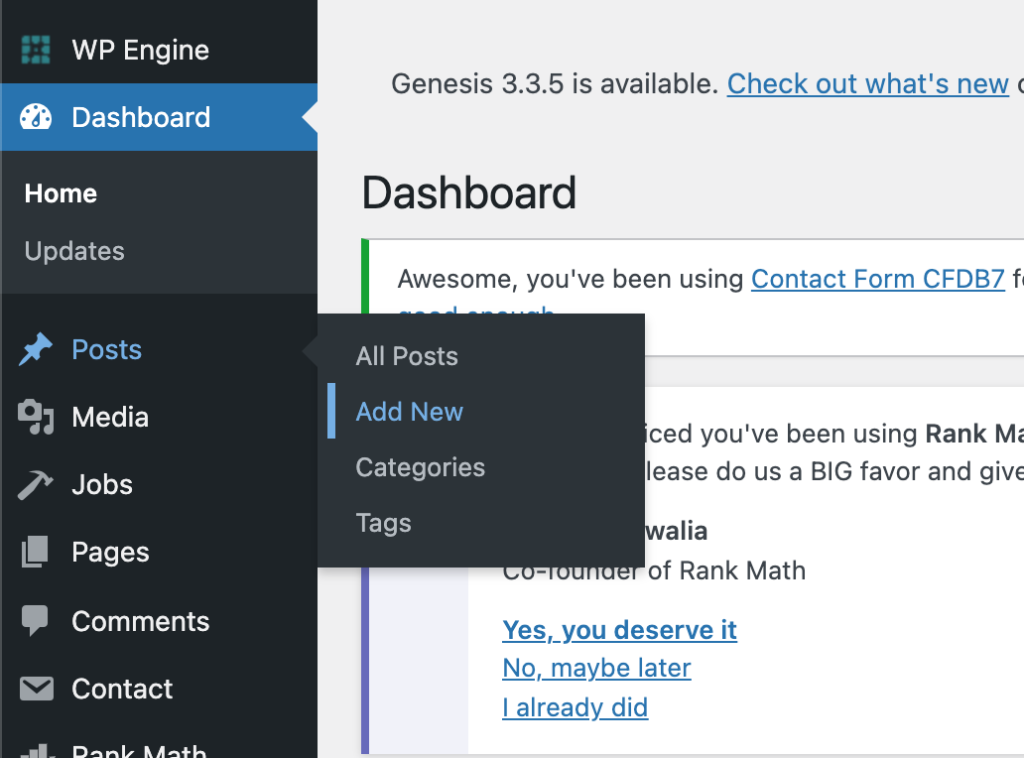
2. Once you’re logged in, you’ll see a dark sidebar menu with different options. What’s included on this menu can vary depending on your site, but that won’t matter. Just select the “Posts“ item. From there, select “Add New“ on the left hand side of the screen.
3. Now, you’ve created a new post. The layout will look similar to this one:
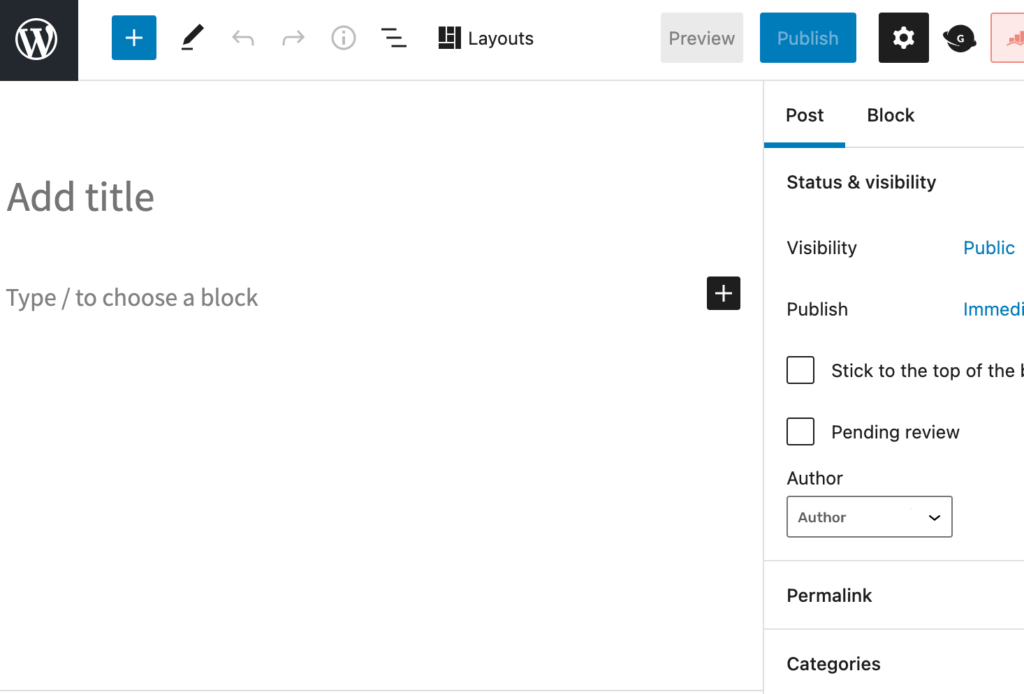
4. Add in the title of your blog post in the section labeled “Add title”.
5. Next, select the black plus box on the right side of the screen. This will open up a menu box. Click “Image” to add an image representing the information you would like to provide to your viewers.
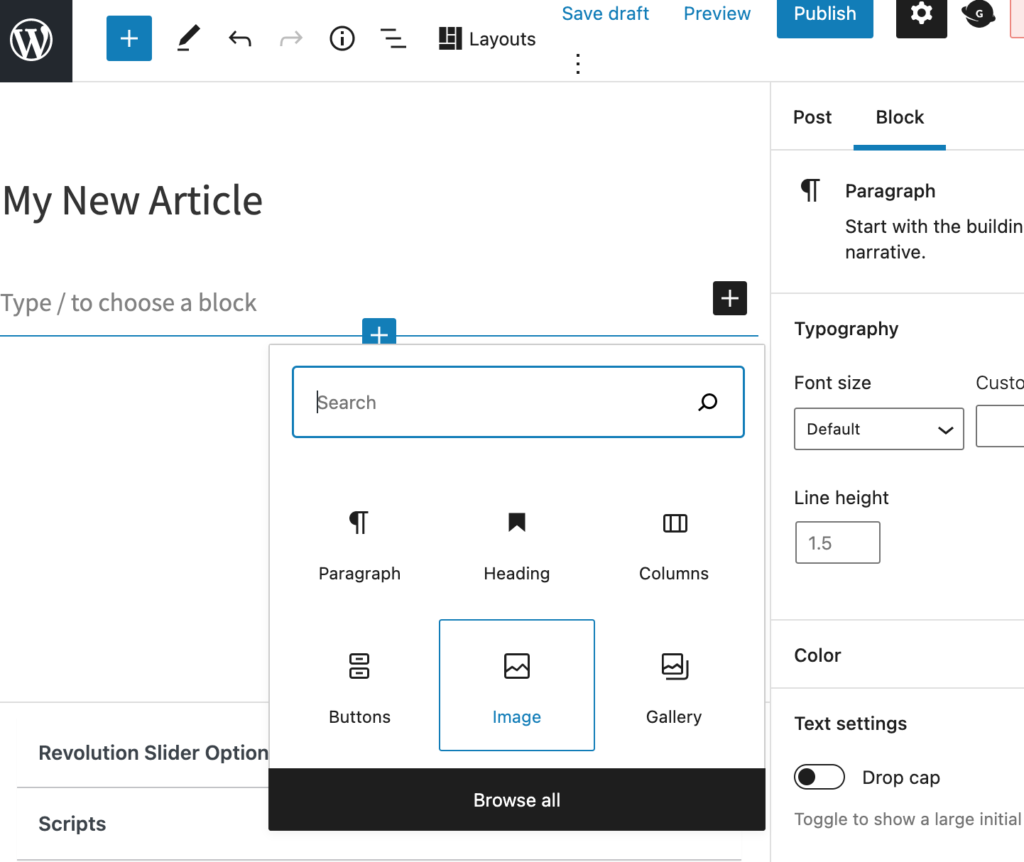
6. You should arrive at a screen that looks like this:

Here, you can click the blue “Upload” button to select your desired image from your computer. If your image is already uploaded to your website’s media library, you can use the “Media Library” button instead.
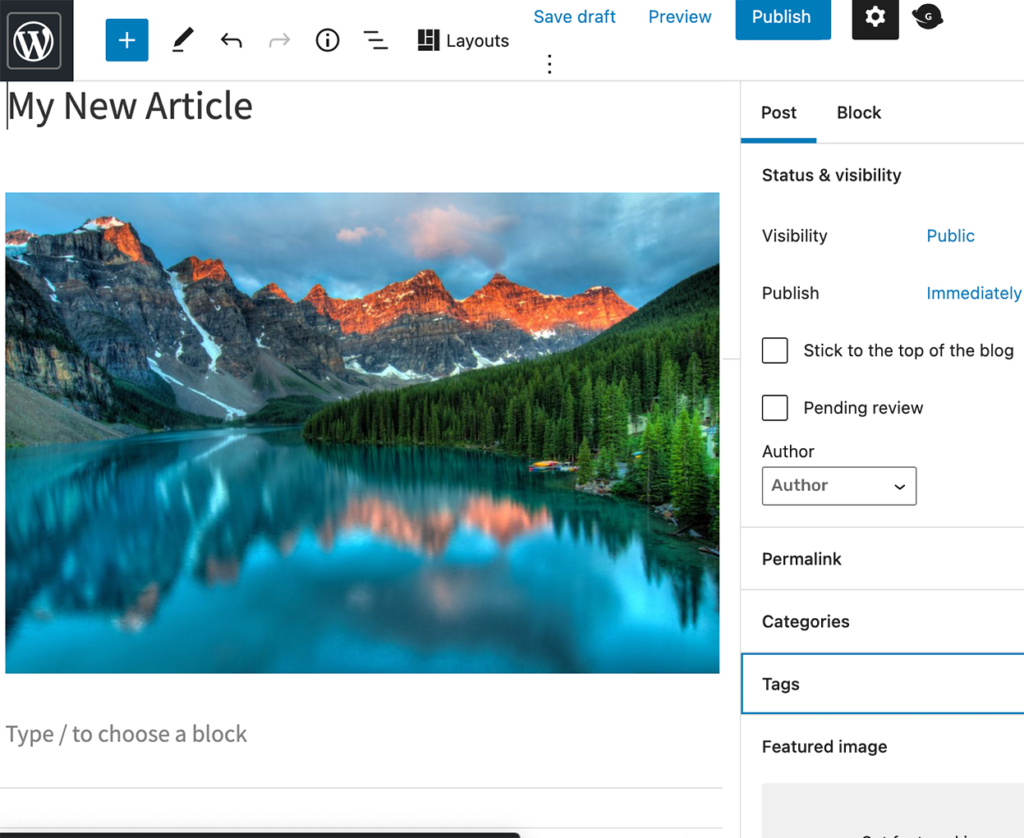
7. Once your image has been uploaded, you can add your text information by simply clicking and typing in the block below the image that reads “Type/ to choose a block”.
8. The article’s author will show up as the user you signed in as. If you’d like to change the author, click on the drop down menu under “Author” and select who’d you like.
When you are finished creating your new blog post select “Publish” in the top right corner to make it public and that’s it. You’ve created your own blog post!


Leave a Reply